Yeastar MyPBX Enterprise. Параметры соединения и формат данных SMDR/CDR
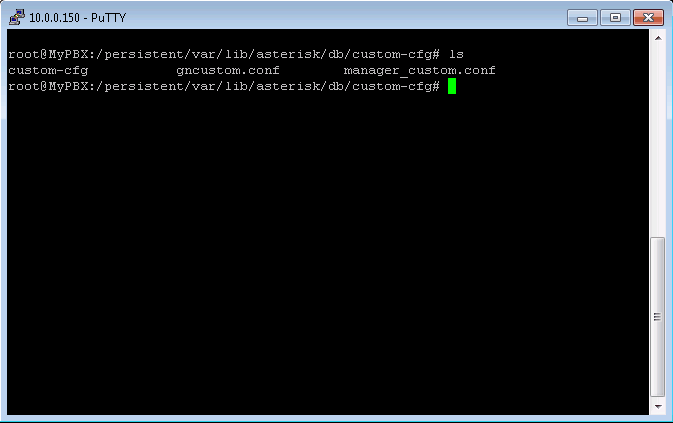
Customized configurationIntroductionThe system configuration files included asterisk configurations are stored into database first and then logistically generated by the background applications. If you would like to manually modify the configurations in /etc/asterisk/, the configuration file will be updated when customers apply the changes on WEB GUI next time. Reboot the device will result in the update of configuration file as well. Namely, the customized modifications by clients can't be saved successfully. SolutionIf you want to save the user-defined data, you must save it to the database. In the directory of "/persistent/var/lib/asterisk/db/", you may find a directory "custom-cfg" to store user-defined data. You should place an appropriate configuration file under this directory. Modified data must saved in "/persistent/var/lib/asterisk/db/custom-cfg/manager_custom.conf". Step 1
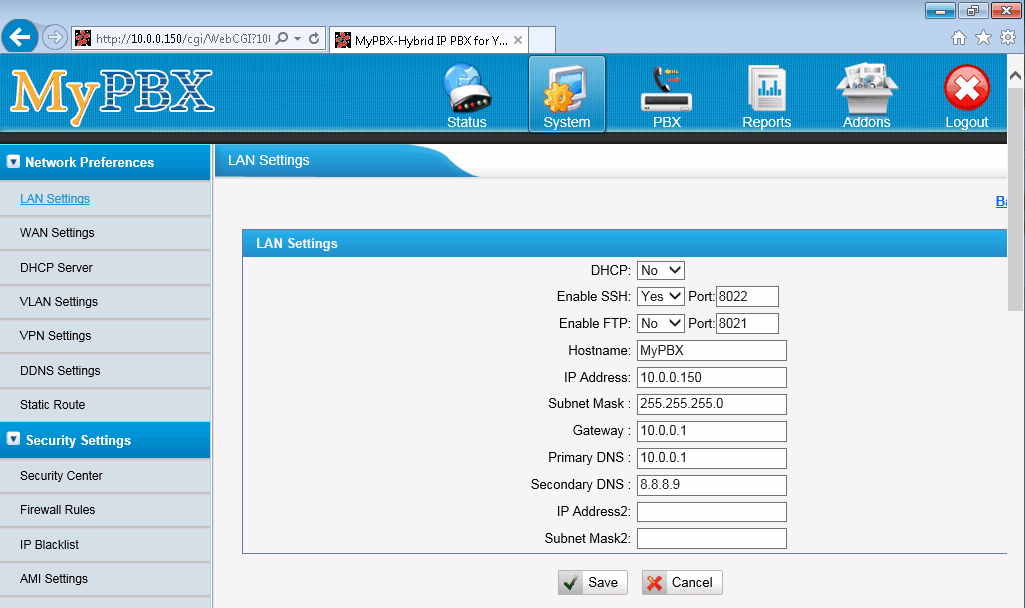
1. Go to WEB GUI → Network Preferences → LAN Settings.
Step 2
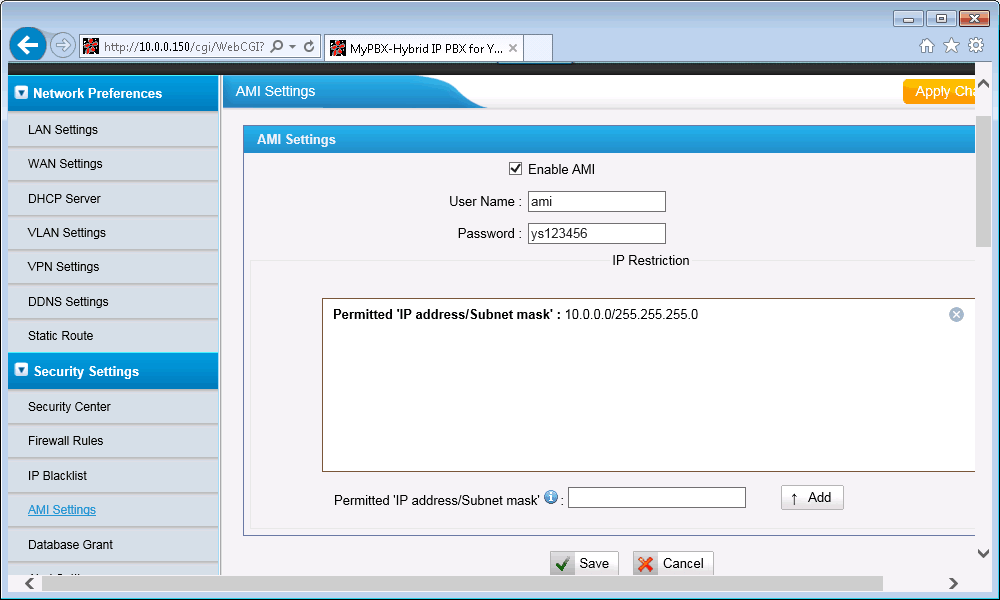
1. Go to WEB GUI → Security Settings → AMI Settings.
Step 3
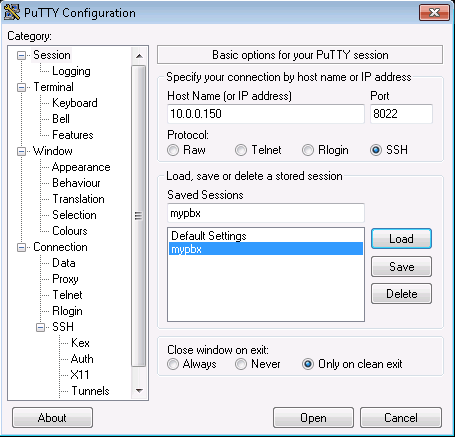
1. Open any telnet utility with SSH support. We recommend to use PuTTY.
3. Login as root. The default password for root is ys123456. [ami] read = all
7. Press the <ESC> button and type :wq to save the changes. The corresponding file must be on the PBX.
Step 4
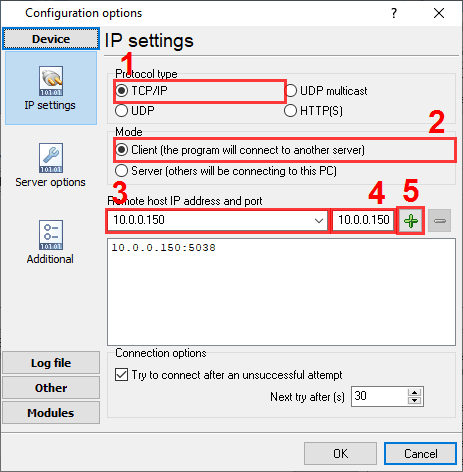
1. Go to WEB GUI → Network Preferences → LAN Settings. PBX Data Logger Settings1. The logger should work in TCP client mode. The PBX being in permanent listening on port 5038, therefore you need to specify x.x.x.x:5038, where x.x.x.x should be the IP address of your PCX (e.g. 10.0.0.150).
2. Select the corresponding data query and parser plugin.
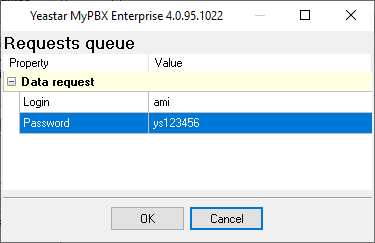
3. Click the "Setup" button near the "Data query" box.
5. Clock "OK" and save all changes. Данные, извлекаемые PBX Data Logger
Интересуют отчеты об использовании АТС?Наша утилита PBX Reports предлагает различные ручные, запланированные и email-отчеты, включает встроенный веб-сервер и многое другое. Вы можете настроить свою систему учета вызовов для Yeastar MyPBX Enterprise. Попробуйте нашу программу PBX Reports с отчетами Нужна история звонков в базе данных?Наша программа-логгер, по умолчанию, фиксирует и экспортирует данные SMDR или CDR в реальном времени, отправляя их в вашу базу данных. Посмотрите нашу статью о записи истории звонков в базу данных Похожие на Yeastar MyPBX Enterprise АТСYeastar (S100,S200,S300)Wypoint eOn Millennium v1.2 eOn Millennium Быстрый переход к настройкам подключения для других АТС и форматов данных ↴ Замечание: Продукты и компании, указанные здесь используются только для обозначения и идентификации, и могут быть торговыми и/или зарегистрированными марками соответствующих компаний. |
|||||||||||||||||||||||||||||||||||||||||||||||||